Saturday, December 6, 2025

tutorial on how-to antique ornament caps


cable-knit holiday ornament

clear plastic ornament
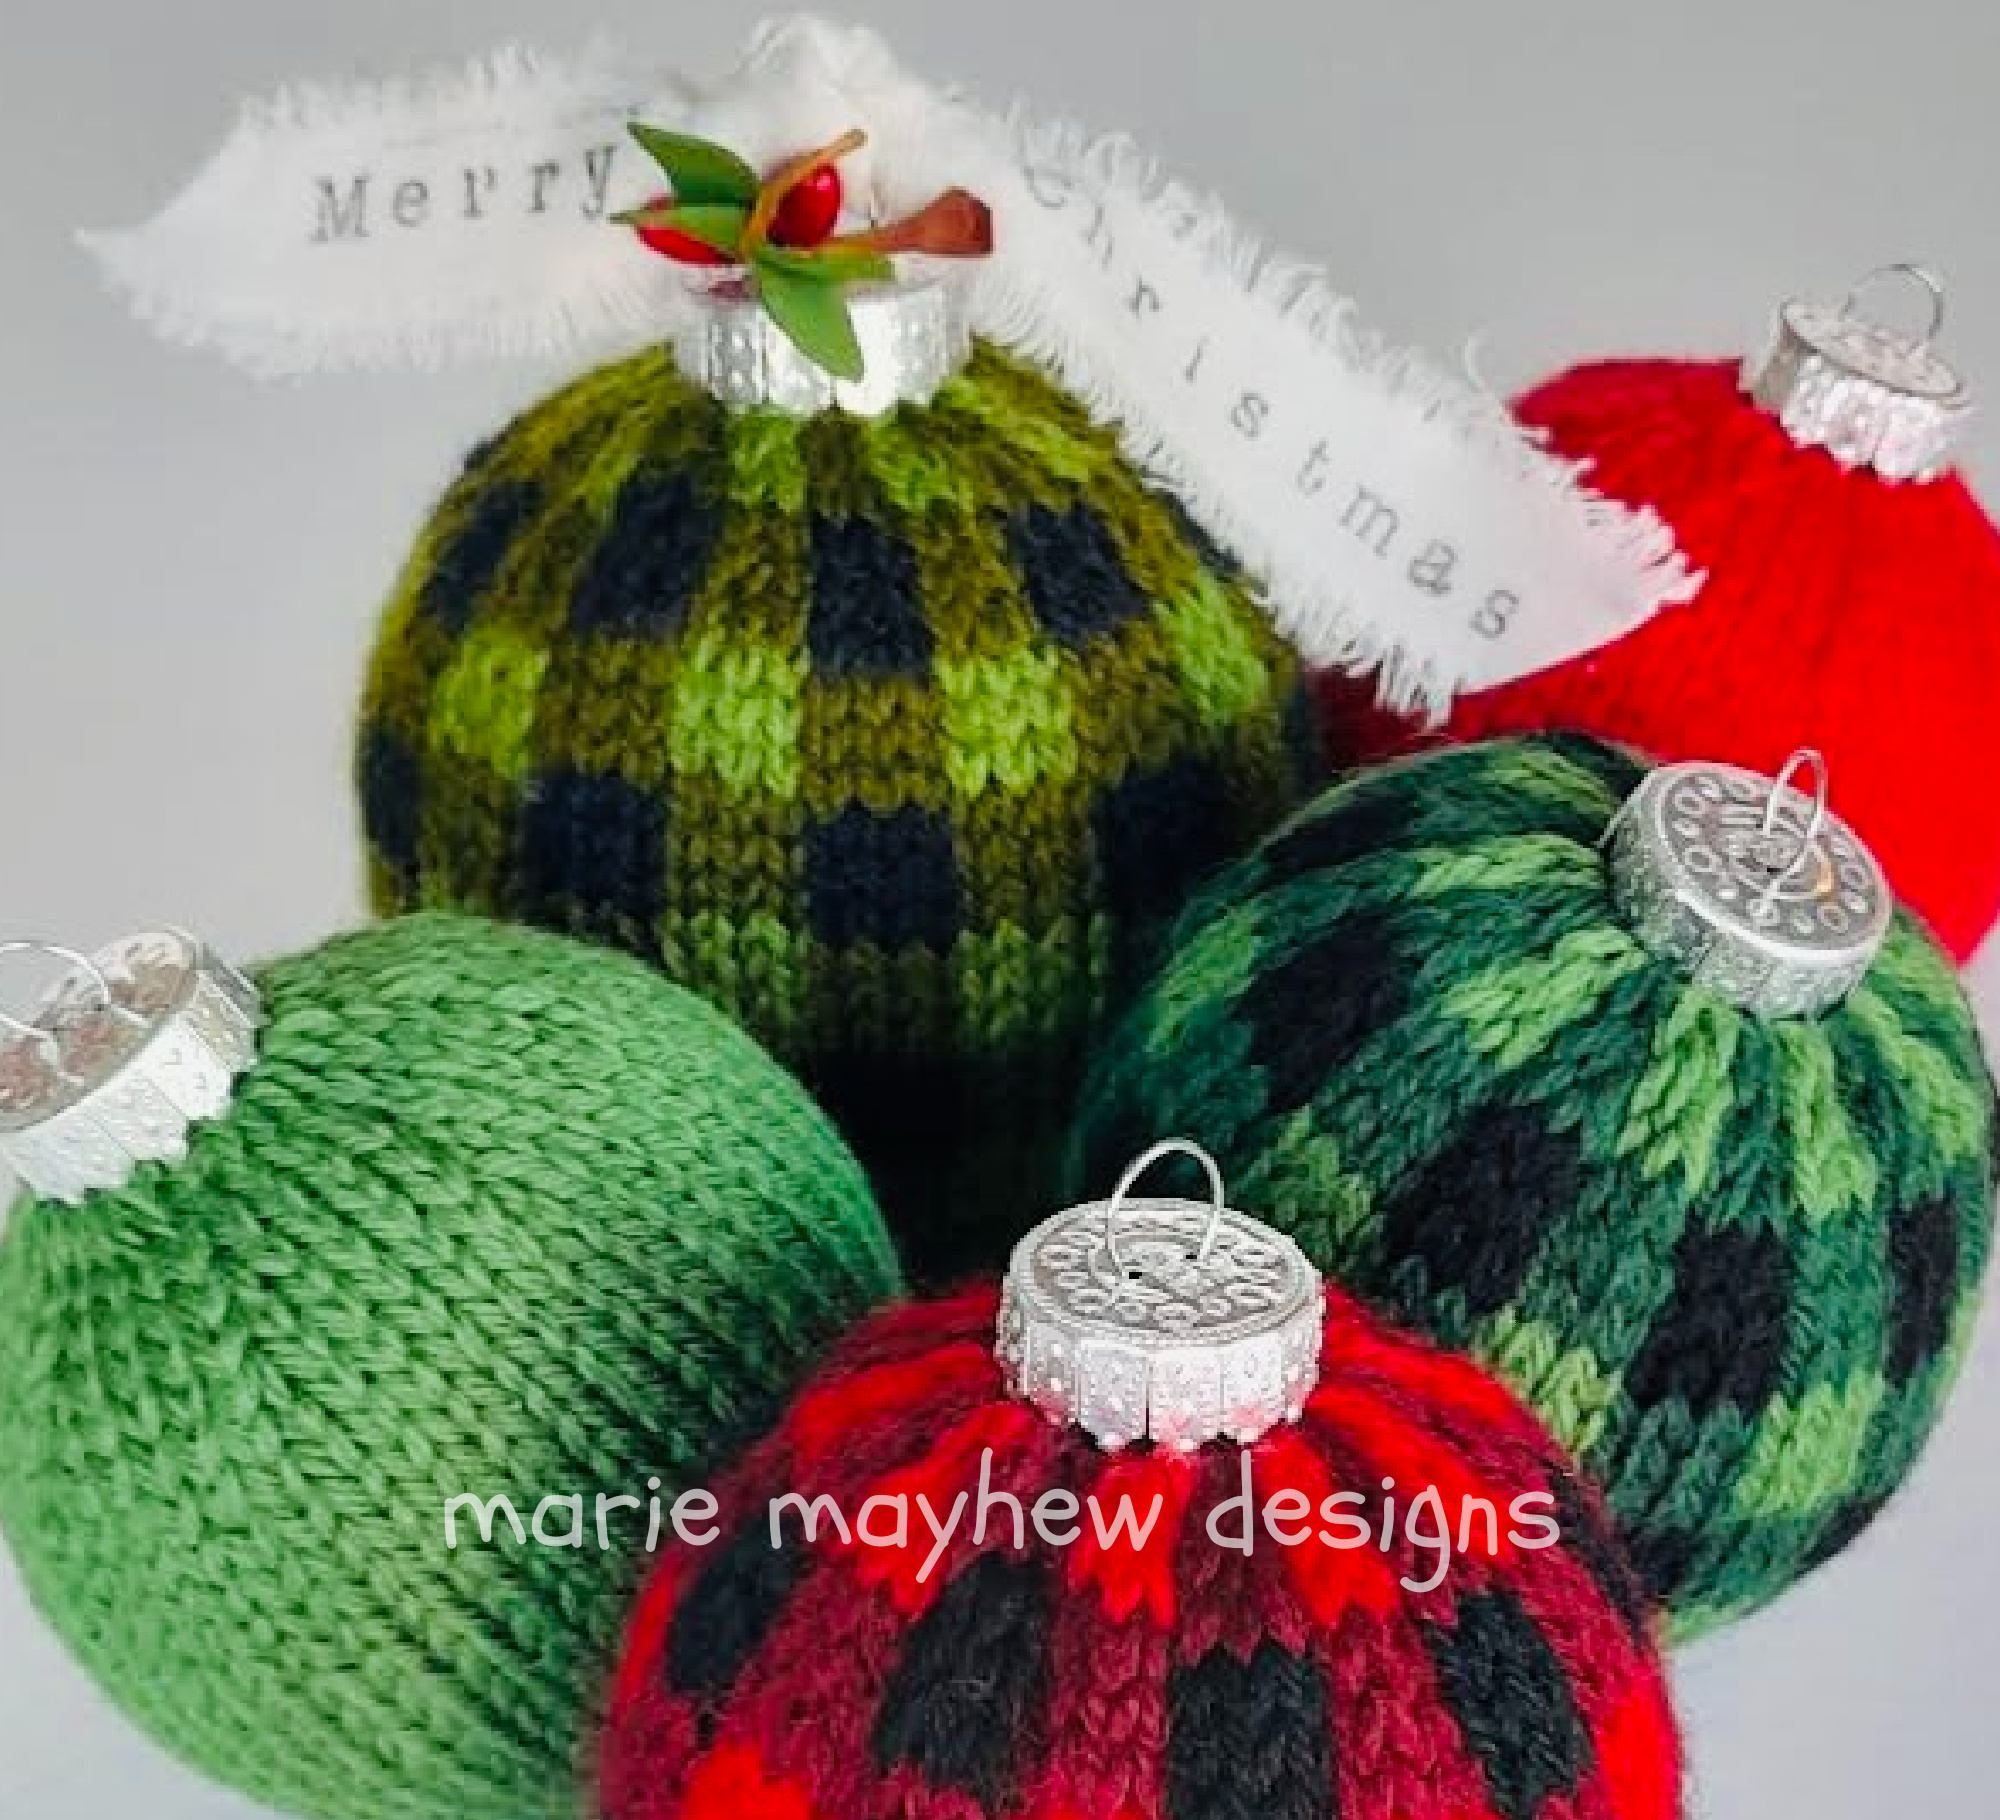
Above is a photo of my newest pattern Cable-Knit Holiday Ornaments. A quick and easy holiday gift idea and the ornament is knit up and ready to go within an hour!

I published it yesterday with the promise of a tutorial on how-to antique traditional store-bought ornament tops. NOTE: I sell 20-mm size ornament caps (not the balls) in traditional silver and gold, and fancy silver and gold. They are sold in packs of five tops.

But when you purchase a plastic craft-store ornament ball (2.75-inch size) it already has the 20-mm size cap included. Leave them silver or gold or antique them!

The materials I use to antique are: either a silver or gold cap top, black chalk paint, a brush, either Antique Gold or Spanish Copper Rub'n Buff® and some clear fixative spray (satin finish).

A small bottle of black chalk paint can be purchased at any craft-store, and very little is needed. The chalk paint is opaque enough to cover well in 1-2 coats. 

1. Paint the cap, mainly the outside and loop, making sure to cover all visible surfaces so no gold or silver is showing. Once dry, determine if you need a second coat. If so, do and allow to dry.

2. Once dry, put a very small dab of the Rub'n Buff® onto a piece of paper. A little goes a long way! Using a small dry brush, dip it into the gold paint and lightly brush it across the surface of the ornament top and sides. The dry brushing hits the high spots in the design and accents them and making them pop. You will find that some ornament caps have a lot of detailing and some do not.

3. If desired, do the same thing with the Spanish copper color. The combination of the black, gold and copper creates a rich antique-look. If you needed to choose between the two colors, for sure get the Antique Gold. I love this product and have every color!

4. Once satisfied with the finished results, spray a light coat of clear fixative over the cap's top and sides. The fixative protects the finish and prevents chipping. Allow the ornament cap to air dry completely. Once dry, it is ready to insert into your ornament. 

This is the simplest and most desired method I have found to create this look. It takes your ornaments to the next level or sophistication!

The ornament cap hanger in the photo at the very top is actually from a larger size ball ornament (5-inch), the next size up from the one I usually use in my patterns. I found I liked the look of a larger-size cap on my smaller ball ornaments especially with this bulky sweater-like look. Its personal preference. Don't hesitate to go by the ornaments just for their cap size because right now especially they can sell them for $0.50 depending on where you go. 

NOTE: An antiqued ornament cap hanger would look whimsical on the Buffalo-Plaid Holiday Ornaments pattern, or how about the Holly-Dazzle Ornament Pincushion? And don't forget the Woolly Holiday Ornaments pattern! I'd love to see what you do with this technique!

Happy knitting!


Friday, December 5, 2025

NEW! cable-knit holiday ornaments


cable-knit holiday ornament

This is my last pattern published in 2025! I have two more I am working on but will have to wait til next year. Today I am introducing my newest pattern, Cable-Knit Holiday Ornaments! This holiday season create a tree full of sweater-like ornaments.

The pattern gives instructions for 3 cable-knit designs. Each knit ornament measures about 2.5-inch / 6.35 cm wide by 3-inch / 7.6 cm high (including the metal cap). 

buffalo plaid ornament
buffalo-plaid holiday ornament
The ornament is knit as one continuous piece. No sewing of seams is necessary. Knitting begins at the bottom and moves up towards the top. A clear plastic craft-store ornament is inserted into the knitted piece and the final stitches are synched tight around the ornament's plastic neck. The crowning touch is the metal wire cap hanger.

I love this pattern and actually started creating it in 2023, the same year as the Buffalo-Plaid Holiday Ornaments pattern was published. They were and are meant to go together, but life obviously got busy. 

I have a new tutorial on how to transform a simple silver or gold ornament cap into an antique-like one. You can find it HERE. Its a fun addition to all my holiday ornament patterns, even the felted ones!


So, if you are looking for a quick and easy holiday gift for that special someone or need a unique hostess gift, check out my newest pattern. You can knit up an ornament in less than an hour. Add a decorative ribbon to the cap and you're good to go.

Happy holidays to you and your family! Wishing you a blessed New Year!

Happy knitting!


Friday, November 14, 2025

lil' gingerbread cookie pillow pattern

Lil' Gingerbread Cookie Pillow

As the year winds down, I'm still creating with a mad-rush to get those last minute holiday patterns published and out the door! I'm proud to introduce my newest pattern, Lil' Gingerbread Cookie Pillow. I absolutely love this guy! He's easy to knit and fun and simple to decorate. 

gingerbread knit pillow pattern, marie mayhew designs
The pillow measures about 12-inch/31 cm tall from head to toe. A perfect size for that extra holiday throw pillow. With all the gingerbread-themed decorations out there in the stores, I just had to create my own version. I started it last year but never finished, but I gave them as holiday gifts (always a sign of my affections towards something I create)!

The gingerbread pillow begins at the neck, starting with a scrap yarn cast-on and knits downwards to the legs. The head stitches are then picked up and knit upwards to the top. Both the arms and legs are picked up and knit separately. The pillow is stuffed to plumpness using fiberfill stuffing. It's then ready for embellishing!

White or cream buttons are sewn down the front of the tummy. This is a great project for using grandma's heirloom buttons. Simple embroidery is used to create the icing squiggles on the arms and legs. The finishing touch is a strip of torn home-spun fabric tied around the neck into a bow.

When done, right out of your creative oven, the pillow is ready to serve to your family and friends!

This gingerbread cookie pillow will soon become a traditional holiday heirloom! I've already knit five of them, one for every room in my house!

Happy knitting!


Thursday, July 3, 2025

NEW! having-a-ball! pincushion


happy 4th of July!

July's pincushion is complete, just published it yesterday! None too soon. Just in time to wish everyone a Happy 4th of July holiday!

Introducing my newest pattern, #11 in my series of monthly pincushions, Having-A-Ball! Pincushion. It was a fun pattern to create, very different from my others, mainly in how it was constructed. Always fun to try out new techniques and ideas.

July is the month of picnics, fireworks, and lazy days spent at the beach. This beach ball pincushion is a quick and easy knit and felt with optional 'stars & stripes' embroidery detailing. 

The pincushion uses worsted weight yarns, and measures about 3.5-inches wide after felted and stuffed. It is knit flat and sewn at the seam using a half-grafting method. The ends are synched shut before felting. The end panels are a piece of hand-dyed 100% wool fabric or felt sewn on. The wool fabric comes in a variety of colors and plaids. 

A sampling of red-white-and-blue-themed pins are the finishing touch! The pins are from Just Another Button Company, a mini-pin set called 'Where We Dwell'. For other fun patriotic-themed pins check out my ETSY store for more selections.

juggling balls
The beach ball would make a sweet baby's gift, tucked a top a hand-knit sweater or blanket. I have included a jingle bell into the center of the ball to create a rattle sound when shaken. Soft pastel yarn colors would add to the sweetness of this baby gift idea.

Another fun gift, is to knit a set of juggling balls. Knit the ball using sport weight yarn and size 7 or 8 double point needles, creating a smaller ball, perfect for that juggler in your life. Once felted, fill the balls completely with plastic poly-pellets, to give that added weight, perfect for juggling.

If you are around St. Paul, Minnesota this July, I am teaching this pattern at my local yarn store, Knitting from the Heart. Would love to see you there!

Happy knitting!


Monday, May 12, 2025

NEW! queen bee-hive pincushion pattern

queen bee-hive pincushion
 
My newest pattern, a knit & felt pincushion for the month of June, Queen Bee-Hive Pincushion.

Bees are a sign of summer and all things warm and golden. The beehive is where the queen hangs her crown at the end of a buzzy-day. Knit and felt a whimsical 4.5-inch / 11.4 cm beehive as a tribute to the hardest worker out there!

The pattern begins at the base, creating an opening to be later used for stuffing, and works upwards to the top. The beehive is knit as one continuous piece including purl rounds that will be later picked up for the beehive's horizontal ridges. Strands of raffia are knitted along with the yarn when knitting the horizontal ridges, to create a straw-like quality once felted.

Your Queen Bee-Hive is now ready for some early summer gift giving!

This pincushion design is one of 10 patterns now published onliine. I am working on two more designs to complete my year of pincushions: a pincushion for each month of the year.

Come join me in knitting a special pincushion (they make wonderful birthday gifts), each month!

Happy Knitting!


Monday, February 10, 2025

NEW! out-like-a-lamb pincushion


out-like-a-lamb pincushion

My newest pattern recently published, 'Out-Like-A-Lamb' Pincushion. Now available online!

As the old saying goes, "March comes in like a Lion and goes out like a Lamb" describes the transition between winter and spring. To help celebrate the anticipation of spring, knit and felt the March pincushion, a lamb, and transform it with a layer of loopy-locks -- a quick and easy embellishing technique. This little lamb makes a great gift for the quilting or sewing enthusiast in your life!

The felted lamb measures about 3-in / 7.6 cm tall from its base to the top of its back. The pattern begins at the base and works upwards to the top. The lamb is knit as one continuous piece, no sewing. The lamb's head stitches are then picked up and knit.
all-white lamb

Once felted, the lamb's body is embellished with loopy-locks: small loops created using a continuous strand of bulky weight yarn then needle felted to the body. The face is embellished using simple embroider and, if desired, decorative pins are the final accent to your finished lamb pincushion!

The little lamb is the seventh pattern in my pincushion-of-the-month collection. Be sure to check out my other designs, more to come! And let me know what you think!

Happy knitting!


Monday, October 9, 2023

YES10


Small Shops. Big Deals. Etsy is running a promotions to the stores within, to help get a jump on your holiday shopping with a $10 off coupon once you spend $40 in one shop.  The coupon cose can be used multiple times throughout the promo until the end of the day, October 11, 2023. At checkout, type in the code YES10 and save $10 on that purchase.

My two Etsy Shoppes are linked below:

Marie Mayhew Designs (patterns, tools and yarns): https://www.etsy.com/shop/woollysomething

My Woollysomethings (knitted/felted samples for sale): https://www.etsy.com/shop/mywoollysomethings

So come on by, whether you are looking for patterns, tools or knitted samples for sale. I'd love for you to stop by and save a little at this time!

Happy knitting!


Thursday, October 5, 2023

my velveteen pumpkins!

my velveteen-pumpkin

My velveteen pumpkin! I used the Pumpkin Patch pattern using a #5 bulky weight (Bernat Velvet, color Golden Moss) yarn and size 8 double point needles. Because of the chenille-like texture, it is very forgiving in gauge and tension.

stemless pumpkin
I plucked off the stem on a ‘real’ smallish pumpkin and hot-glued it to the top of the velvet pumpkin. Love the look and texture!

At the bottom for the blossom-end, I sewed a medium-size button to the base, coordinating the colors for a fun look.

These velveteen pumpkins are a perfect compliment to your knitting harvest this fall!

Happy knitting!


happy Autumn!


Monday, April 10, 2023

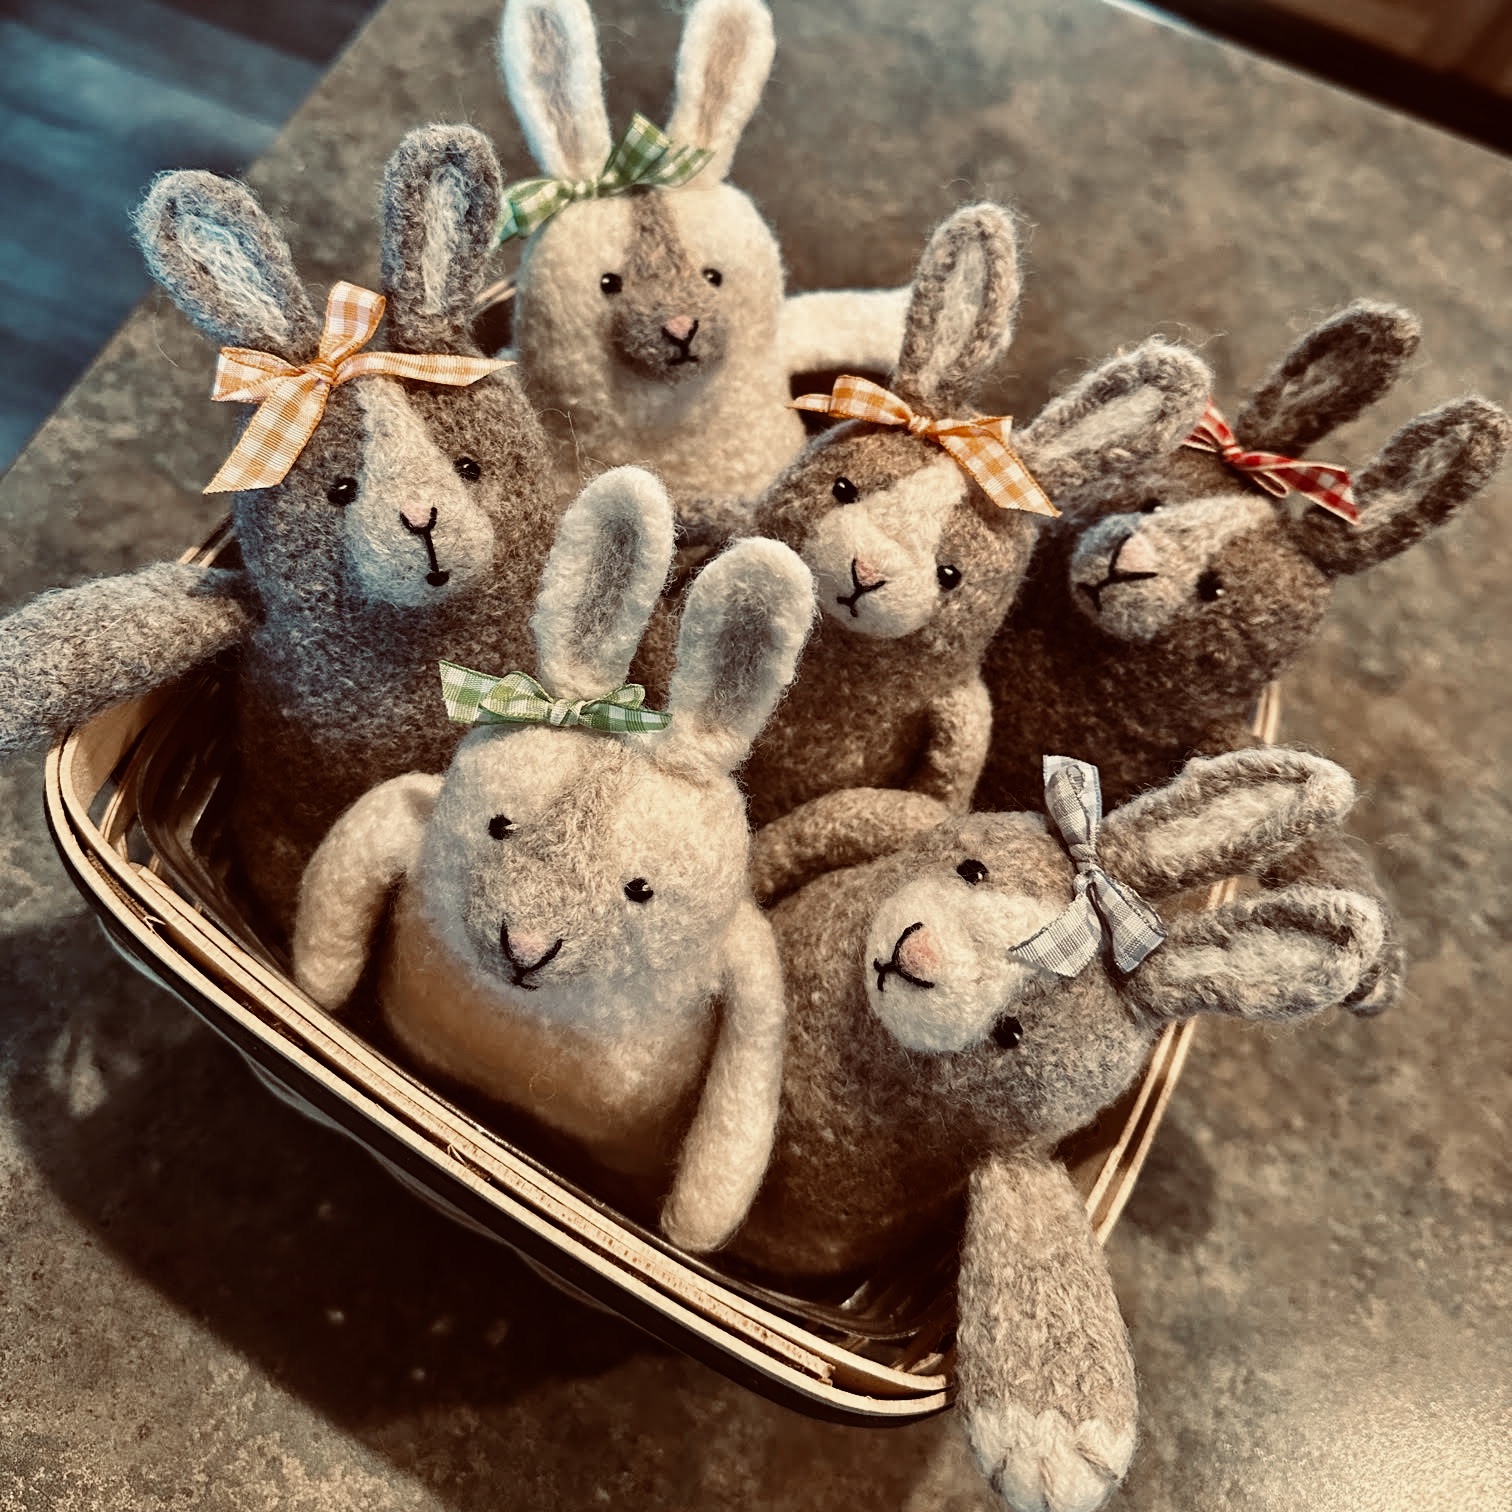
Kathy's bunnies!


lil' bunny kisses

I received a wonderful Easter gift this past weekend, an email from a longtime pattern customer. She wanted to share her bunnies with me (above), using my pattern Lil' Bunny Kisses. She has been busy, creating bunnies for her nieces and nephews. And she used scraps and stash yarn to boot. How cute are they?

I love the two-tone paws in the bunny in the front! Kathy said she was running out of yarn and had to improvise. What a fun idea and I am planning on doing the same. I think that if you do a two-tone paw you don't need the round disk on the paw's other side --- a great alternative. 


She told me she had embroidered yarn eyes on each of the bunnies because of the age of the recipients, but glass eyes, size 5 mm, are another alternative. Please keep your child's age in mind when choosing the eyes to prevent unnecessary swollowing.

Her photo has inspired me to create a bunny or two myself! How about you?

Thanks for sharing, Kathy, and giving permission to share your photo of bunnies! Any others have photos to share? If so, send them to mariemayhewdesigns@gmail.com

Happy Easter!


Monday, February 13, 2023

bee mine, valentine!


woolly sweet-hearts pattern

I love all things heart-related, especially chocolate! But right now I'm fasting from chocolate so I have to satisfy my 'sweet' tooth other ways this Valentine's day. And one of them is through knitting, of course.
 
marie mayhew hearts knit pattern
The Woolly Sweet-Hearts pattern is not new but I never tire of it. They are so quick and easy to knit and felt up, and a sweet experience to embellish. 

I like using wool batt to stuff my hearts because once stuffed, I throw them back into the wash for a swish or two to felt them further. The wool batt shrinks with the heart creating a firm, sturdy shape that lasts years and years. The wet heart can be molded like clay. And if further detailing is needed, once dry, the little heart can be needle felted further to perfection. That is a rarity, but it is always an option.

marie mayhew designs wool candy corn pattern
woolly candy corn pattern

This year I wanted to combine the hearts with my Woolly Candy Corn pattern for my table display and decided to share it with you. I love the Woolly Candy Corn pattern for its flexibility of color choices, always able to coordinate with the various seasons and holidays throughout the year. I have woolly candy in every color and size, so I can pull them out and add them to any display!

Make small ones using wool sport weight yarns and size 7 dps, or large ones, using wool worsted weight yarns and size 10.5 dp needles. So simple, embellished or not! But a little embroidery and buttons will go a long way. That special gift for all those dieters in your life. Treat them this Valentine's day with the gift that keeps on giving, year after year. Happy Hearts Days!

Happy knitting!


Tuesday, December 20, 2022

a buffalo-plaid Christmas to you!


shelley's holiday ornaments
Thinking of you all this holiday season, with your busy hands knitting into the late hours, watching Hallmark movies to cheer you on! Not sure about the movie-part, but the busy-knitting, for sure. Me too. Just finishing my sets of Buffalo-Plaid Holiday Ornaments for my family in their special colors. I wanted to share them with you.

In the photo above, are ornaments for my sister and her living room decor. The plaid ornaments are from my newest pattern: Buffalo-Plaid Holiday Ornaments in two sizes: small and large. The two solid-color ornaments are from a new pattern written for next year. My desire is at least 3 more knit-only ornament patterns to mix-and-match colors and textures.You can see some of the examples of that in my photos. 

hannah's ornaments
The ornaments can be displayed on your coffee table in a bowl or tray or hung on your tree or fireplace mantel. The display ornaments are partially filled with plastic poly-pellets to give them weight so they don't roll away. But if they are knit to be hung, then no poly-pellets. The knit ornaments are light and airy for hanging. Your choice!

The color schemes are obviously endless, but I recommend starting out with three colors and build from there. In my examples (above and below), my color scheme was yellow/gold, grey, and cream. The holiday colors (left) used red, greens and black.

The solid balls create an accent to the plaids, as well as a blank palate for embellishing (pattern to come). The solid ornaments are not knit from the same pattern as the plaids. The knitting is simpler but less stitches overall because of the tighter knitting.

buffalo plaid holiday ornaments knit marie mayhew designs
tayler's ornaments
I'd like to have a peppermint-candy series, a striped series, a buffalo-plaid series (complete), a solid set (almost done) and maybe even a cable-knit series. My goal is to complete this series of patterns sooner than later so you can plan for next year. I published my Buffalo-Plaid Holiday Ornaments pattern too late this year. Good intentions, at least it is done! I am also pleased it gave me gift ideas this year as well as designs for some future patterns (partially written already). Can't beat that!

But as 2022 comes to a close, I grateful for your support of my patterns over the years. I appreciate your comments and sharing with me your photos, it always delights me. May your Christmas be a blessed one filled with laughter and time spent with loved ones.

Merry Christmas and a Happy New Year!


Saturday, December 3, 2022

a buffalo-plaid Christmas!


Buffalo-Plaid Holiday Ornaments

Just practically finished knitting up my Buffalo-Plaid Pumpkins and its Christmas season already! So to keep the spirit going, how about a Buffalo-Plaid Holiday Ornaments pattern too. Slightly different color schemes but still the same ol' plaid we know and love.

The pattern gives instructions for a three-color checked ornament in both a small and large size. The small knit ornament measures about 3-inch wide by 2.75-inch high (including the metal cap). And the large one, measures about 4-inch wide by 3.5-inch high. 

The ornament is knit as one continuous piece. No sewing of seams is necessary. Knitting begins at the bottom and moves up into the checked pattern, and ends with a tie off at the top. Near completion, a clear, plastic, craft-store ornament is inserted into the knitted piece and the final stitches are synched tight around the ornament's plastic neck. Once complete, the metal wire cap is inserted into the opening at the ornament's top -- the crowning touch!

Have fun knitting endless combinations of colors! Coordinate the colors with your living room decor. They make great ornaments for your holiday tree, hostess gifts or Christmas decor.

Happy Buffalo-Plaid Holidays!


Friday, October 14, 2022

pumpkin SALE!


Come check out my second Etsy Shoppe: Mywoollysomethings! I have several of my woolly samples for sale at very reasonable prices. It's time to share the love! This week I reduced the prices of my pumpkins (hand-made by me), and believe it or not, I am adding more daily.

I have sold quite a few thus far and keep finding more to sell. Some are original, early designs and others are things I had been playing with and they never made it to the final stages. Hope you find something you like!

Happy knitting!


Monday, September 26, 2022

pumpkin time!


two NEW pumpkin patterns!

buffalo-plaid pumpkin
Happy Autumn! I am happy to announce that I just published two new pumpkin patterns. They are both knit-only patterns, so no felting required! I now have 6 knit-only patterns available (including the new ones, see the list below).

The first pumpkin pattern is the Buffalo-Plaid Pumpkin, a 3-color checked design with a tree branch for a stem. I love this pumpkin especially in the orange-color combination above, but have done it in black and white, and look forward to knitting it in several color combinations like orange, tan and cream. Or how about the traditional red and black, but it isn't very Autumn-like.

The pumpkin measures about 4-inch high including the stem. Knitting begins at the base, moving upwards creating several stripes as you increase stitches, and then into the buffalo-plaid pattern, ending at the top, a knit bind off edge creating an opening for stuffing the pumpkin with fiberfill.  

seed-stitch pumpkin
The second pumpkin pattern is the Seed-Stitch Pumpkin, as textured and cozy as a hand-knit sweater! It measures about the same size as the plaid pumpkin. It begins at the bottom and works up to the stem, one continuous piece. The pumpkin's knit surface is the seed stitch pattern, an alternating 'k1, p1' combination throughout. The stem uses two strands of yarn carried together to knit a thicker rib pattern.

They both make wonderful additions to any hand-knit pumpkin collection. Have you tried any of my other knit-only pumpkin patterns? 


Mix and match the patterns to create a whimsical harvest bounty of hand-knit pumpkins.

Happy knitting!


Thursday, March 17, 2022

Just checkin' in...

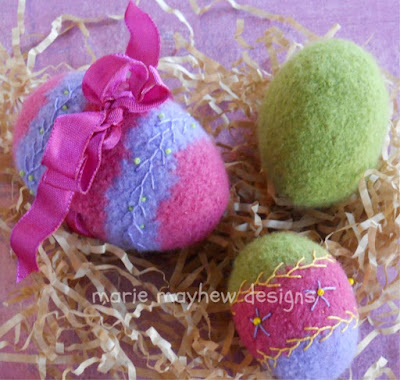
Woolly Eggs knit & felt pattern, embellished eggs, marie mayhew designs
woolly eggs pattern

Some of you may have noticed that I haven't published a pattern in awhile. And you may be wondering, what happened to me. Hope you're thinking of me, cause I've been thinking of you!

Covid has been hard, for everyone. My family and I have been pretty healthy but think I may of caught the latest Covid-version around the first of the year. I got hit with cold-like symptoms and recovered quickly, but my tiredness lingered for a bit too long. I am back to normal now, thank goodness, and hope you are all well too.

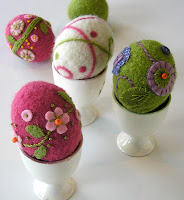
woolly eggs in egg cups, marie mayhew designs
I wanted you to know I'm still creating, but something is changing with my art and I'm trying to figure it out. I need to play more obviously and listen to my playing. And I'm not liking what I'm creating and can't figure out why, thus new patterns haven't been coming to light. That's okay. I can feel that something new is coming and that is exciting, and I have given myself the space to create without producing, so to speak. Hope that makes sense. 

I have been experimenting with knitted eggs (not felted like the above photo) and color-knitting. Knit-only patterns pushes me to a new level of knitting, thus I have been viewing a great deal of YouTube videos, learning new stitches and techniques. Felting is so beautiful in that it hides everything! And if you embellish over it, no one notices those knitting imperfections. I am loving the challenge. I'm also thinking of taking an embroidery class and 'officially' learn to embroider. I am a self taught embroiderer so far. Embroidery on knitting is different again, and needs to be used differently as a result. 

Oh, don't get me wrong about felting, I love it and will never give it up. It isn't outdated or spent (to me at least), just different these days. I am a firm believer it is also coming back in the future. 

I'll keep you posted as I go along. I have LOTS of ideas, that is a given. And I'm confident I will be sharing something with you soon. I just really wanted you to know that I am thinking of you all. You have been such an important part of my creativity and I am personally delighted in always being able to share it with you!

Happy knitting!